노안으로 고생하는 당신을 위한 손쉬운 크롬 다크모드 설정법!
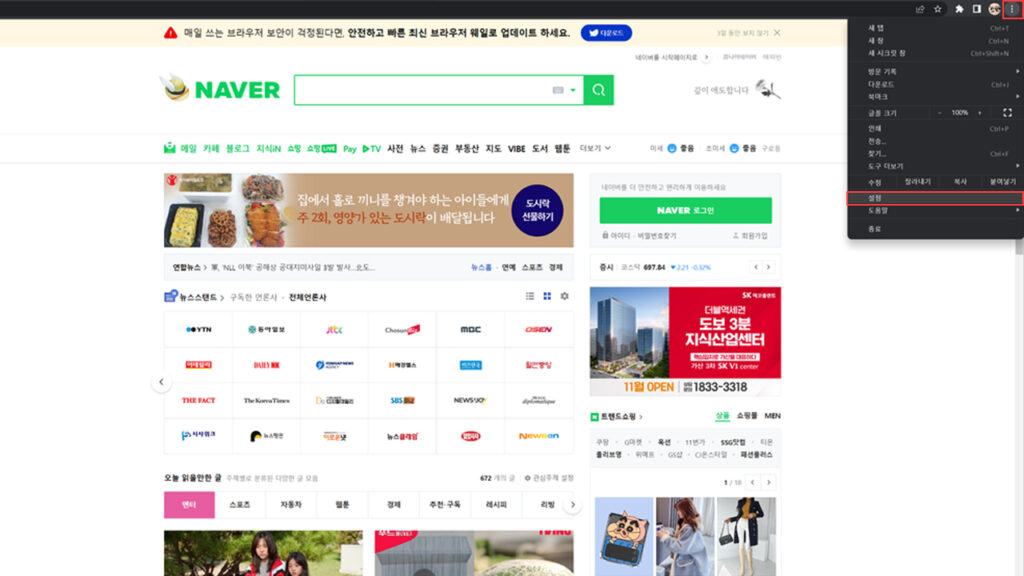
1. 크롬브라우저의 설정탭 클릭
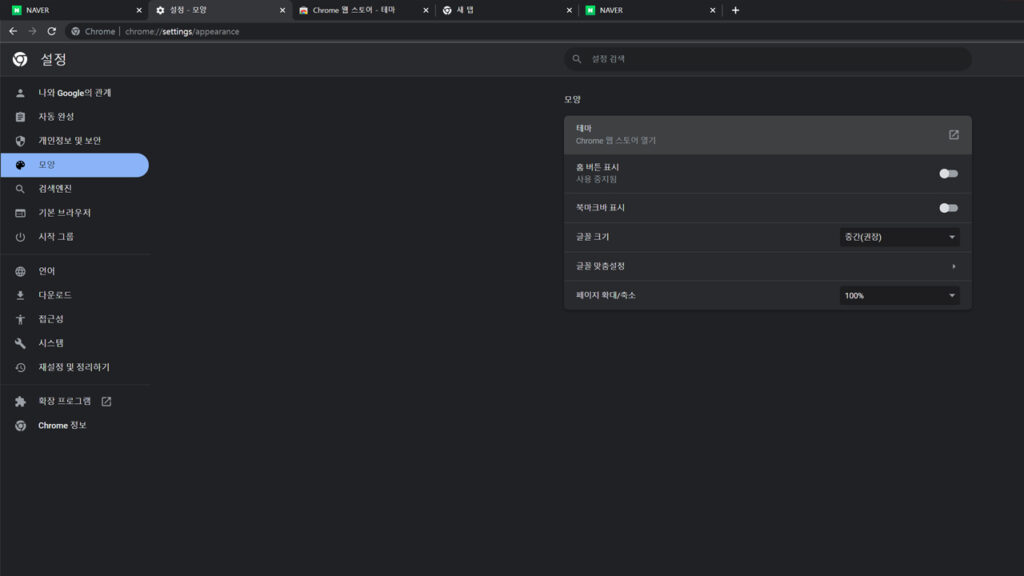
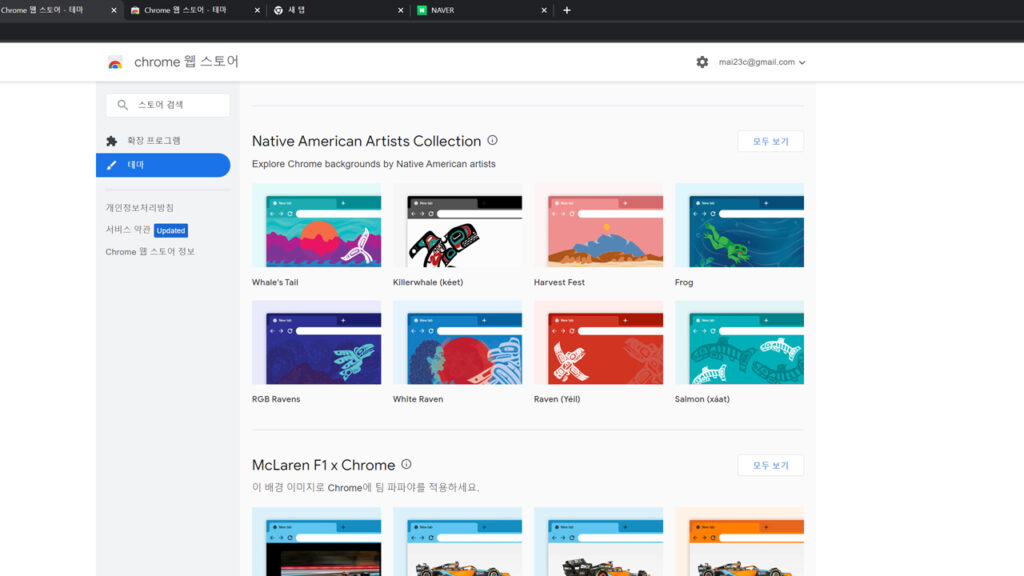
2. 모양 메뉴의 테마로 들어가 원하는 화면 선택 후 적용
현재까지의 과정만 적용할 경우 인터넷 화면에서는
여전히 하얀 백그라운드로 눈이 피곤하기 때문에
아래의 과정을 거쳐야 진정한 다크모드
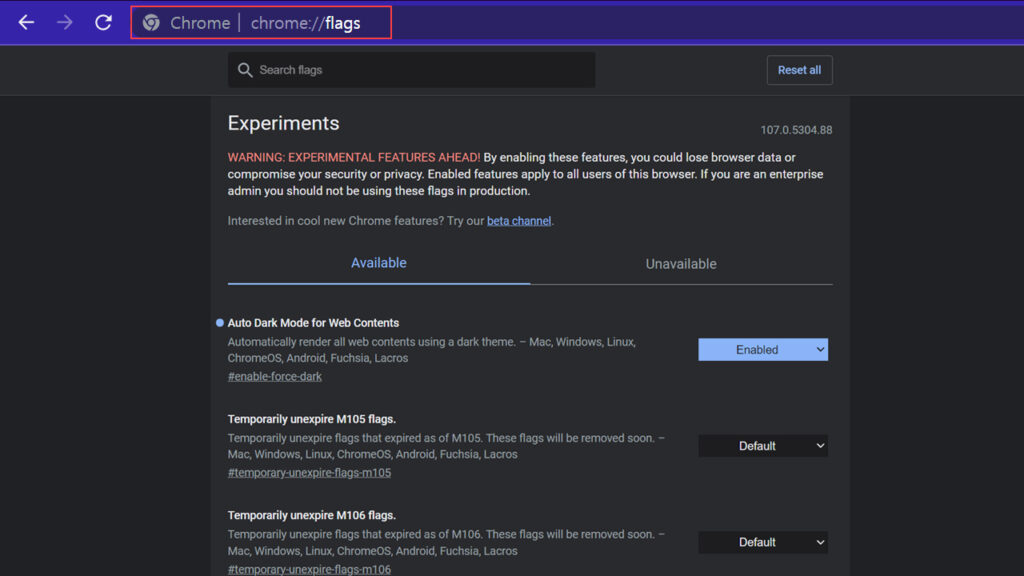
주소창에 chrome://flags/를 입력하여 Experiments 진입
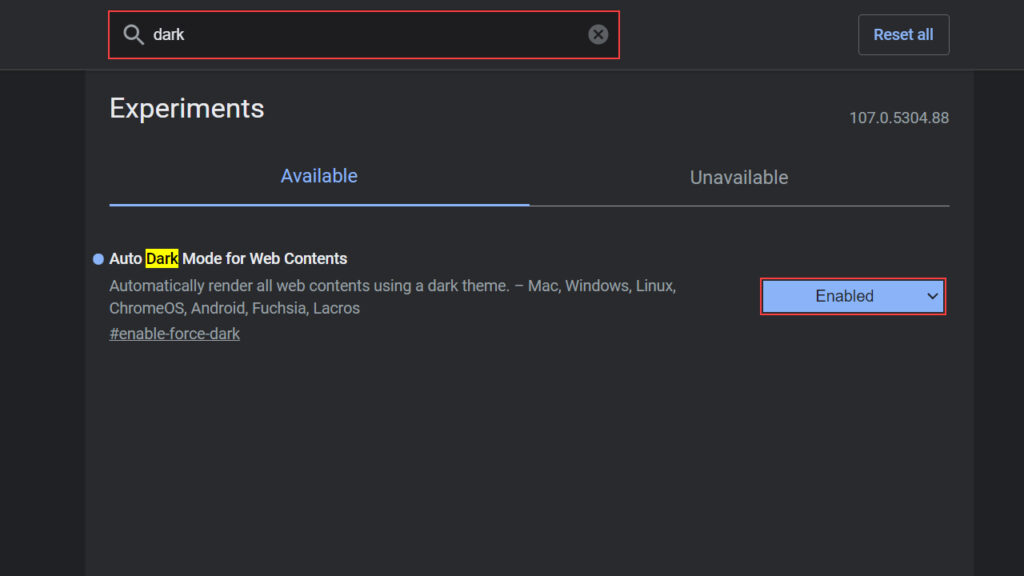
검색창에 Dark 검색 후 활성화 시키면 끝!!!
 Raonolje studio
노안으로 고생하는 당신을 위한 손쉬운 크롬 다크모드 설정법!
1. 크롬브라우저의 설정탭 클릭
2. 모양 메뉴의 테마로 들어가 원하는 화면 선택 후 적용
현재까지의 과정만 적용할 경우 인터넷 화면에서는
여전히 하얀 백그라운드로 눈이 피곤하기 때문에
아래의 과정을 거쳐야 진정한 다크모드
주소창에 chrome://flags/를 입력하여 Experiments 진입
검색창에 Dark 검색 후 활성화 시키면 끝!!!
해제) Alt + P
단점) 이동된 오브젝트를 이용하여 2차 수정 불가
강연자에 집중
여백에 자막이나 그래픽 효과 삽입 가능

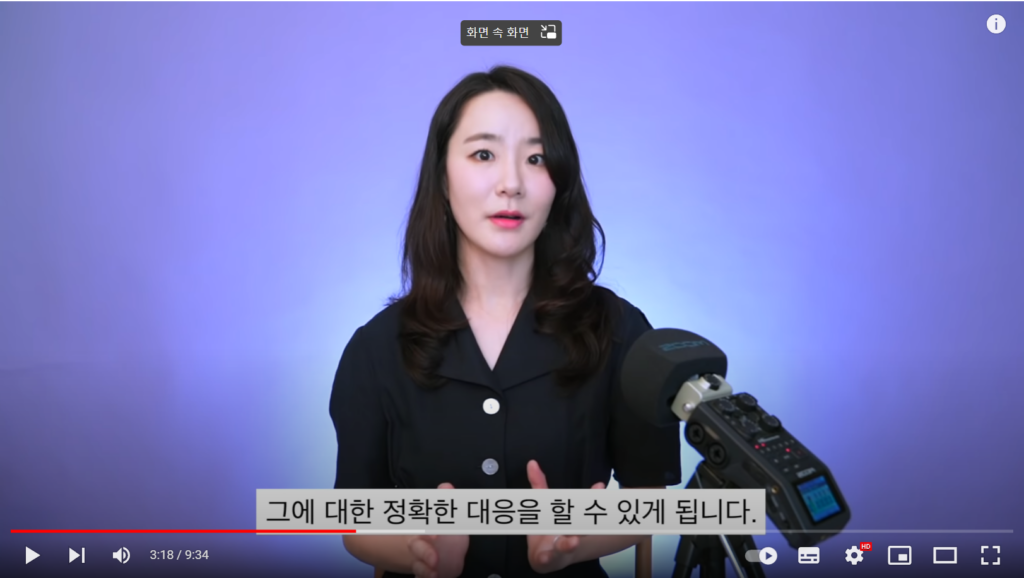
대표적으로 세바시

밋밋한 장소에 포인트를 줌
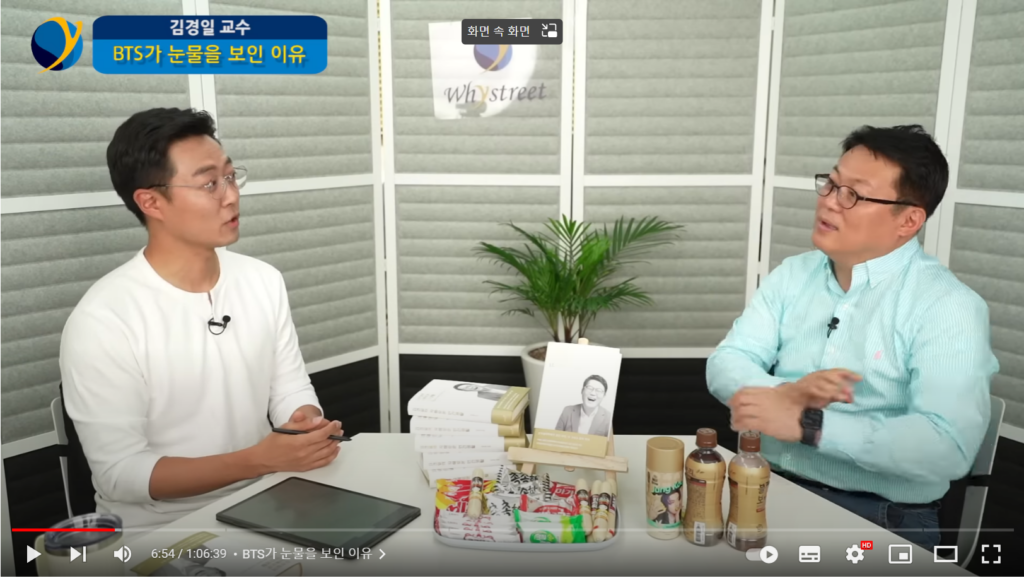


편안하고 따뜻한 분위기 연출
강연 중 영상이 플레이 됨.
강연의 보조 장치 역할.
생동감 있는 강연 구현.
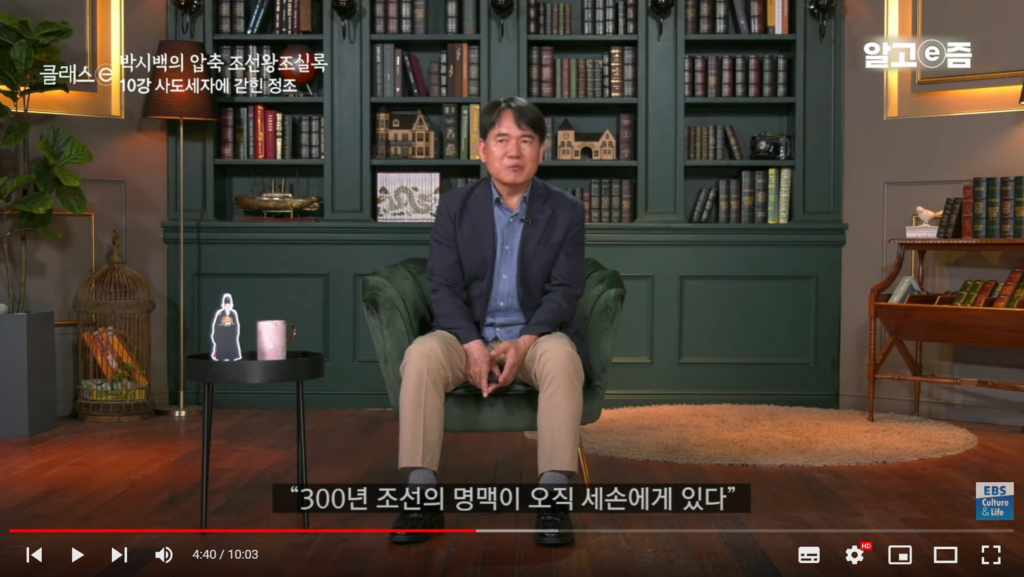
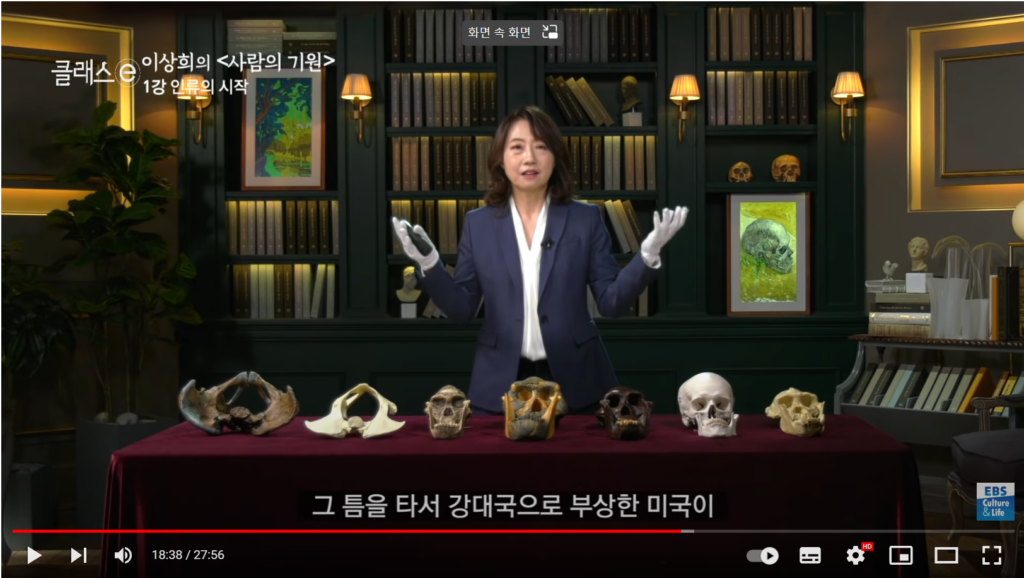
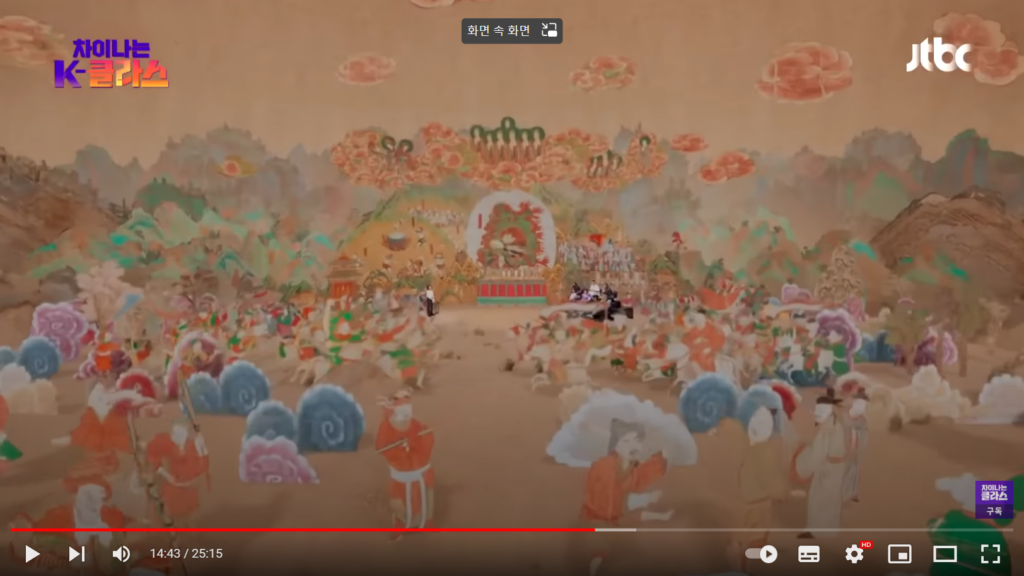
KBS 1TV 다음이 온다


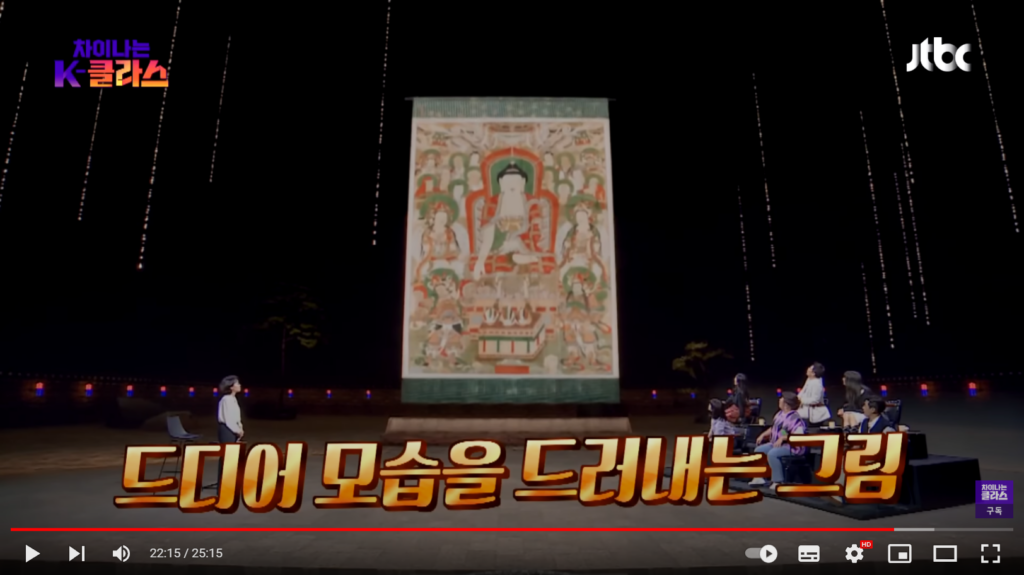
jtbc 차이나는 K클라스

특정 문구의 위치를 확인하여 밑줄 만들기
totalCount = thisComp.layer("Text").text.sourceText.split("\r").length;
lineCount = thisComp.layer("Text").text.sourceText.split("\r").findIndex(w => w.includes(thisComp.layer("underbarText").text.sourceText));

a=thisComp.layer("Text").sourceRectAtTime();
h=thisComp.layer("Text").transform.position[1]+(lineCount - totalCount)*79.56;
t=thisComp.layer("ControlEffect").effect("top")("Slider");
l=thisComp.layer("ControlEffect").effect("left")("Slider");

spaceValue = 12.68;
underbarText = thisComp.layer('underbarText');
leftLineText = thisComp.layer('leftLine');
uTWidth = underbarText.sourceRectAtTime().width;
flWidth = thisComp.layer('firstLine').sourceRectAtTime().width;
slWidth = thisComp.layer('secondLine').sourceRectAtTime().width;
llWidth = leftLineText.sourceRectAtTime().width;
lIndex = thisComp.layer("Text").text.sourceText.split("\r").findIndex(w => w.includes(thisComp.layer("underbarText").text.sourceText));

d = (flWidth - slWidth) / 2;
leftWidth = (lIndex ? (d > 0 ? d : 0) : (d > 0 ? 0 : Math.abs(d))) + llWidth;
spaceWidth = thisComp.layer('Text').text.sourceText.split('\r')[lIndex].split(underbarText.text.sourceText)[0].replace(leftLineText.text.sourceText.trim(), '').length;

[(thisComp.width - a.width)/2 + leftWidth + spaceWidth * spaceValue + l, h + t]특정 문구 앞에 있는 문자를 찾아서 출력하는 익스프레션
underbarText = thisComp.layer('underbarText').text.sourceText;
text.sourceText=thisComp.layer('Text').text.sourceText.split('\r').find(w => w.includes(underbarText))?.split(underbarText)[0];
Text레이어에 입력한 텍스트를 줄바꿈 기준으로 나누고, 그 중에서 underbarText를 포함한 줄을 찾은 다음, true면 underbarText를 기준으로 앞에 있는 텍스트를 출력함
익스프레션으로 특정 문자열이 끝나는 위치를 indexOf와 시작점으로 찾음
a=thisLayer.text.animator("Animator 1").selector("Range Selector 1").start;
t=thisComp.layer("searchText").text.sourceText.length;
n=thisLayer.text.sourceText;
m=n.indexOf(thisComp.layer("searchText").text.sourceText);
k=a+t;

if (m == -1) {
	[0]
} else {
	[k]
}
이 레이어의 텍스트 중에서 searchText의 텍스트와 일치하는텍스트의 시작점을 찾은값을 a로 두고, searchText 레이어의 길이(length)를 찾아 특정 문자열이 끝나는 위치를 값으로 찾음
만약 searchText와 완벽하게 일치하는 텍스트가 없으면 0을 출력하도록 if~else로 분기
익스프레션으로 특정 문자열의 위치를 찾는 indexOf
a=thisLayer.text.sourceText;
b=a.indexOf(thisComp.layer("searchText").text.sourceText);
if (b == -1) {
	0
} else {
	[b]
}
이 레이어의 텍스트 중에서 searchText의 텍스트와 일치하는 텍스트를 찾아 그 시작 점(indexOf)을 값으로 찾음
만약 searchText와 완벽하게 일치하는 텍스트가 없으면 0을 출력하도록 if~else로 분기
sourceRectAtTime가 가지고 있는 속성으로 앵커 포인트 고정 또는 레이어 정보 불러오기
sourceRectAtTime은 4가지 속성을 가지고 있음
이를 활용해 레이어 또는 도형의 크기와 위치 값을 불러올 수 있음
a=sourceRectAtTime();
[a.left+a.width/2 , a.top+a.height/2]텍스트 스타일 및 참조 텍스트 정의하기 익스프레션
myText = thisComp.layer("Text").text.sourceText;
myText.style.setText(myText.charAt(0));
익스프레션의 Text 레이어의 source Text 익스프레션에서 스타일과 불러올 참조 텍스트를 한 줄로 입력해야하므로 참조 텍스트를 setText 함수를 활용하여 작성함
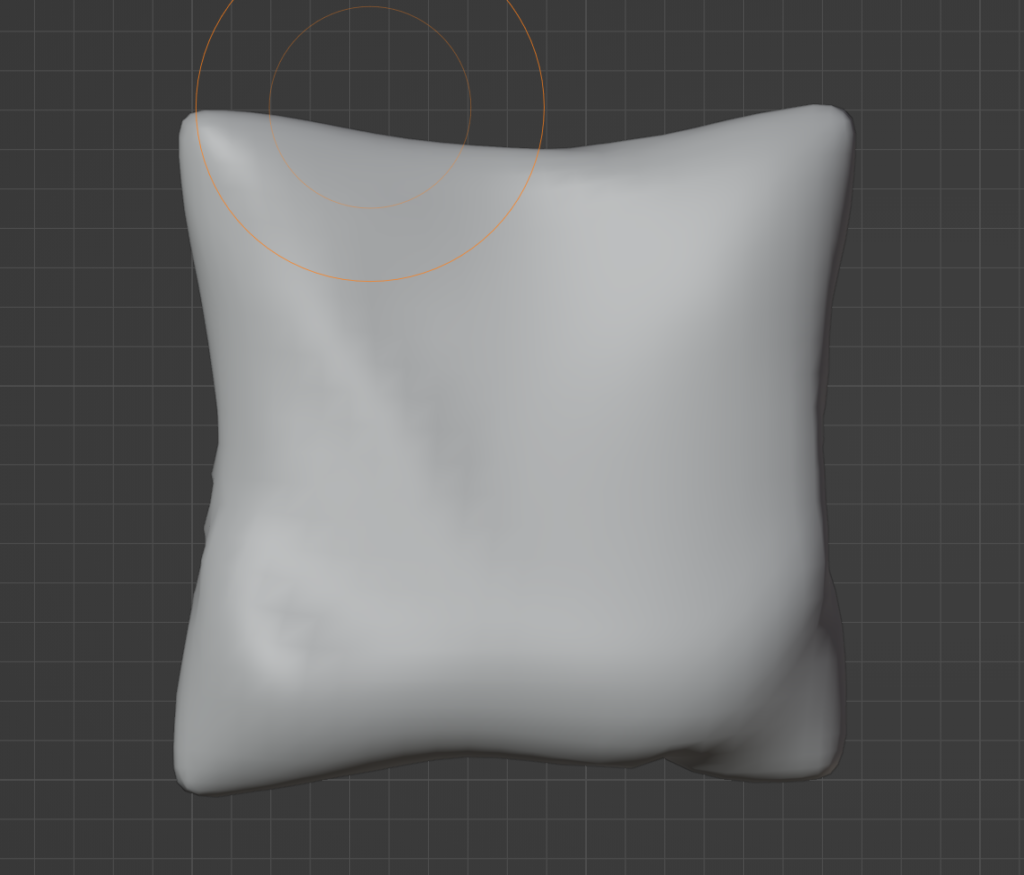
1) 큐브 생성 Shift + a + m + c
2) 베벨 적용 Ctrl + b
– Segment 적게 적용
– 많으면 에러 확률 높아지고
시간이 많이 걸림
3) 루프 컷으로 면 분할 Ctrl + R
– 가로 세로 10개 이상
– 두께 쪽 1개

4) 쉐이드 스무스
5) Physics Properties 탭
–> Cloth
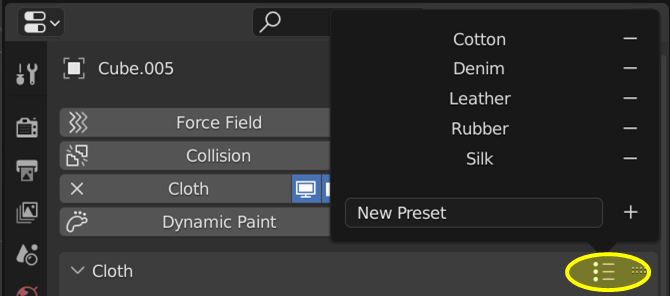
6) 노란색 탭에서 기본 천종류 선택
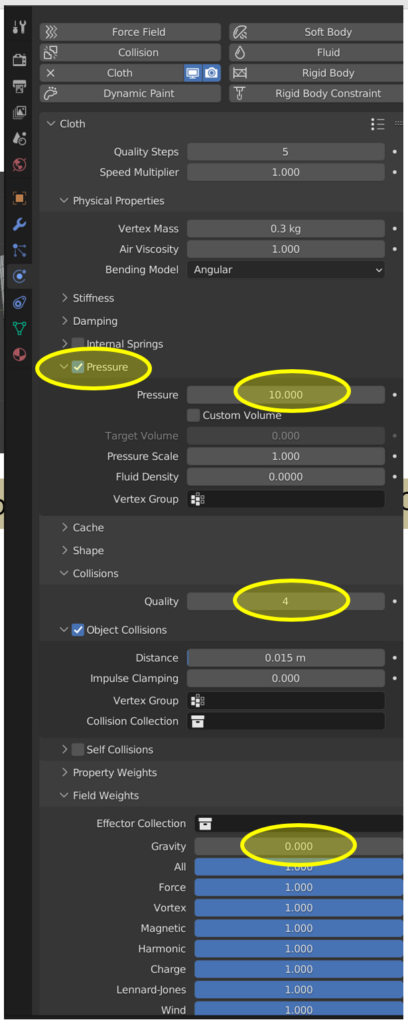
7) Pressure 체크 후 5~10 기입
8) Collision Quality 4
9) Gravity 1–> 0
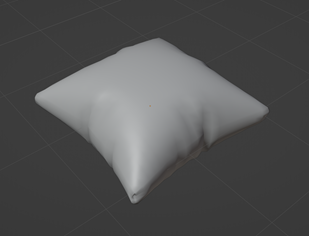
10) Sequence 실행 후 원하는 형태에서 정지
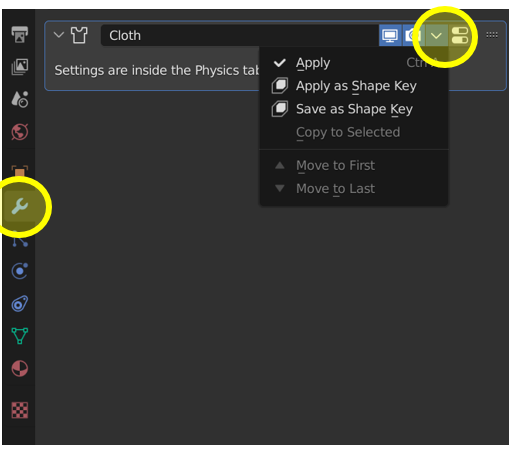
12) Modifier Properties 탭에서
Apply 적용
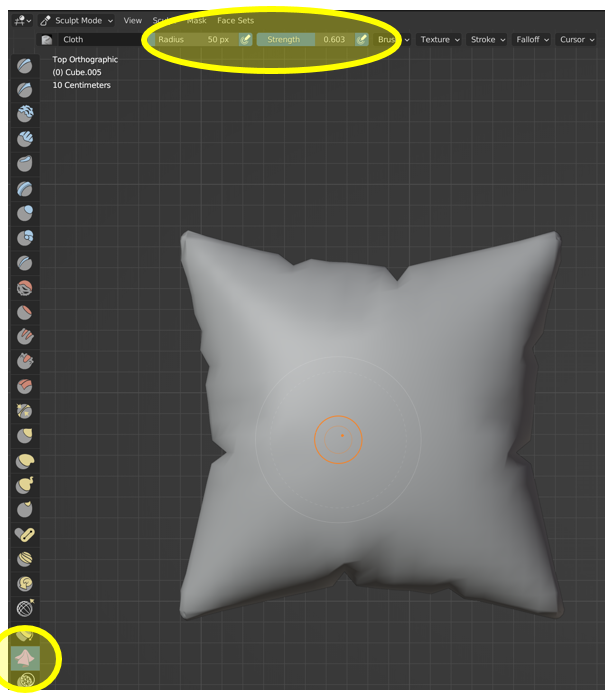
13) Sculp Mode 에서 Cloth 선택
->상단 바에서 영역 및 강도 조절